

If your oven is anything like mine after the holidays, it’s probably seen better days. Between Christmas roasts, baked goodies, and all those festive feasts, it doesn’t take long for grease, spills, and grime to build up. But here’s the good news: with just six simple steps, you can deep clean your oven and make it look (and feel) like new again.
I promise this doesn’t require fancy chemicals or expensive cleaners. Everything I use is natural and made with everyday household items—safe, effective, and easy to whip up. Whether you prefer tackling the mess all at once or breaking it down into smaller steps, this guide will help you get your oven sparkling just in time for the New Year.
Ready to start? Let’s begin with step one: making your own natural oven cleaner.
1. Making a natural homemade oven cleaner
If you’re like me, you probably want to avoid those harsh chemical cleaners with their overwhelming smells. That’s why I swear by this simple, natural solution that’s been my go-to for years. It’s not only effective but also gentle on your oven—and it uses ingredients you probably already have at home.
Here’s how to make it:
- Start with 1/2 cup of baking soda in a disposable container.
- Gradually add tablespoons of water, mixing well after each addition until it forms a thick, spreadable paste. It should have the consistency of frosting—thick enough to stay in place but easy to spread.
- Depending on the size of your oven, you may need 1–2 cups of paste, so scale up if needed.
- And don’t forget to have white vinegar on hand! It’s the magic ingredient you’ll use later to loosen the paste and make cleanup a breeze.
I like to whip up this solution at night so I can get right to work the next morning—trust me, letting the paste sit for a good 12 hours makes all the difference!
2. Cleaning the stovetop so it’s like new
If your stovetop ends up looking anything like mine after the festive season, it’s a battlefield of grease, spills, and baked-on grime. There’s no point in having a clean oven with a messy stovetop, so let’s put the natural cleaning paste from step 1 to good use here.
Here’s how I tackle it:
- Remove any burners, grates, or removable elements to expose the surface fully.
- Using a damp cloth, give your stovetop a quick wipe over removing any loose bits.
- Then, put on some gloves and spread the baking soda paste from step 1 over the stovetop. Focus on greasy areas and stubborn spots where spills have dried on.
- If you’re dealing with particularly stubborn grime, spray a bit of white vinegar over the paste. The fizzing reaction helps to break down tough stains, making them easier to scrub away.
- Use a cloth or non-abrasive scouring pad to work the paste into the surface, scrubbing gently to lift off grease and grime.
- Give it 30-60 minutes and wipe off the solution with a damp cloth to remove any residue. Then, use a clean, dry cloth to buff the surface until it’s gleaming.
- Don’t Forget the Burners and Grates! The same paste works wonders here too. Apply it to the items you removed earlier, let it sit for a bit, then scrub and rinse thoroughly.
With a little effort and the same natural cleaner, your stovetop can look as spotless as your oven interior. Trust me, the results are worth it!
Also Read:
3. The solution for oven glass cleaning
What always surprises me is how messy the oven door can get. It often becomes the most visibly grimy part of the oven after holiday cooking. From baked-on grease to cloudy glass that hides your culinary masterpieces, it needs TLC. The good news? The natural paste from Step 1 is perfect for tackling this.
Here’s how to clean your oven door and glass:
- Start by opening the oven and removing the racks and trays. This step gives you full access to the glass and ensures you’re not working around obstacles.
- Using a damp cloth, wipe the glass to remove loose debris or crumbs. This makes the paste more effective by allowing it to focus on the tougher grime.
- Wearing gloves, spread the paste evenly over the oven glass, especially on stubborn spots or grease stains (do this on the inside of the oven). Do not spread the paste near the heating elements or seals.
- Close the oven door and let the paste sit for up to 12 hours or overnight. This allows the baking soda to break down baked-on grease and food residue.
- After the waiting period, dampen a cloth or paper towel with white vinegar and begin wiping away the paste. The reaction between the vinegar and baking soda will help lift off the grime. Don’t be alarmed if the paste turns brown—this means it’s working!
- Once the paste is removed, use a clean cloth and warm water to give the glass a final wipe, ensuring no residue is left behind.
Pro Tip: For the best shine, dry the glass with a lint-free cloth or microfiber towel after cleaning.
With this method, your oven door and glass will sparkle like new, letting you admire your delicious creations without peering through streaks and grime. And don’t worry about the racks—they deserve their dedicated cleaning process, which we’ll tackle next!
Also Read: 10 Kitchen Items You Should Never Clean in a Dishwasher
4. The best way to clean oven racks
If there’s one part of the oven I dread cleaning, it’s the racks. They always seem to be the greasiest, most awkward things to scrub. But I’ve found that a good soak—and one simple hack—can make all the difference and save you a ton of elbow grease.
Here’s my tried-and-true method:
- Take your oven racks to the bathroom and line the bottom of the tub with a few old towels. This step is crucial—it protects your bathtub from scratches caused by the metal racks.
- Place the racks on top of the towels and fill the tub with enough hot water to fully submerge them.
- Here’s where the trick comes in—add washing powder to the water. Use about the same amount as you would for a standard washing machine load, and sprinkle it over the racks for even coverage. The detergent works wonders on grease, breaking it down so the scrubbing effort is minimal.
- Let the racks soak for at least 8–12 hours. I usually do this step overnight so I can get straight to scrubbing in the morning. The extended soak loosens all the baked-on grime, making cleanup so much easier.
- The next day, use a scouring pad to gently scrub off any remaining residue. Most of the grease and grime should slide right off thanks to the soak.
- To make the racks truly shine, give them a final wipe-down with a disposable cloth dampened with white vinegar. It cuts through any leftover grease and leaves them looking like new.
Pro Tip: If you don’t have washing powder, dishwashing tablets or liquid detergent can also work well. Just make sure to rinse everything thoroughly after scrubbing to avoid leaving any residue.
With this method, your oven racks will come out gleaming with minimal effort. Trust me, soaking them overnight is a game-changer—and your bathtub will survive the process thanks to those trusty towels.
Also Read: 8 Amazing Bathroom Cleaning Hacks: From Mirrors to Faucets
5. Steam cleaning the oven interior
By the time I get to this step, my oven usually needs one last push to tackle those hard-to-reach areas and stubborn grime. Steam cleaning is my favorite hack for this—it’s natural, easy, and leaves the oven smelling fresh and clean without any harsh chemicals. Plus, there’s something so satisfying about watching the steam do all the hard work for you.
Here’s how I do it:
- Grab two lemons (my go-to for natural cleaning). Slice them in half and squeeze their juice into an ovenproof dish. Add the squeezed lemon halves to the dish for an extra boost.
- Fill the dish about halfway with water and add a splash of white vinegar. The combination of steam, citrus, and vinegar works wonders on baked-on grease and grime.
- Place the dish in the oven and set the temperature to medium-high. Leave the oven on until you see the window covered in condensation or until most of the water has evaporated—this usually takes about 20–30 minutes.
- Once you’re done steaming, turn off the oven and carefully remove the dish. Let the oven cool until it’s safe to touch but still slightly warm.
- Using a damp cloth, wipe down the interior surfaces of the oven, including the walls, ceiling, and floor. The steam will have loosened even the most stubborn residue, making it easy to clean.
- If you still see some stubborn residue, repeat steps 1 – 5.
Bonus Tip: If you don’t want to repeat steps 1 to 5 but still have a few stubborn spots, sprinkle a bit of baking soda onto the damp cloth and gently scrub.
I love this method not only because it’s so effective but also because it leaves the oven smelling lemony fresh. It’s the perfect finishing touch to your deep cleaning process and a great natural alternative to chemical-heavy cleaners.
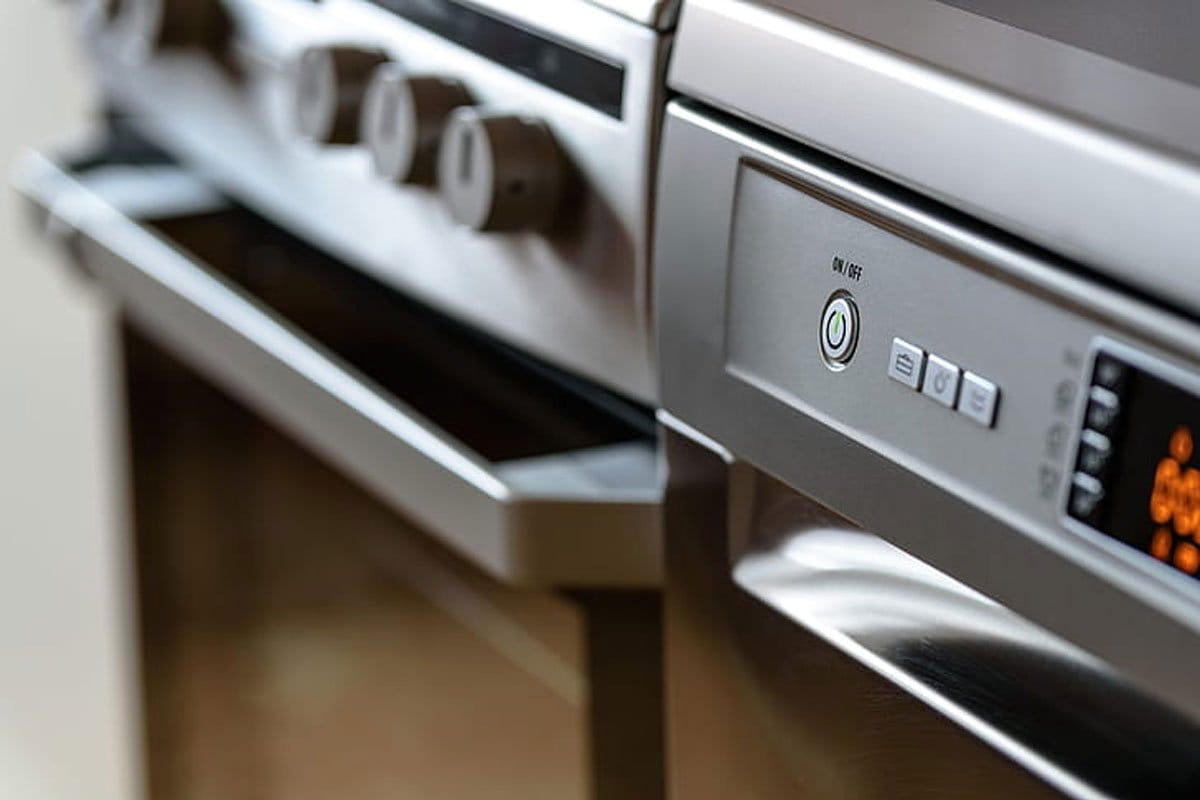
6. The best way to clean around control knobs
If there’s one spot on the oven that’s easy to overlook but constantly collects grease and grime, it’s the control knobs. Between splatters from cooking and sticky fingerprints, they can become surprisingly dirty. Luckily, the natural cleaning paste from step 1 works perfectly here, and it’s gentle enough to use without damaging the knobs or the surrounding surfaces.
Here’s how I tackle it:
- Most oven knobs can be gently pulled off for easier cleaning. Double-check your oven’s manual to make sure this is safe for your model. If the knobs don’t come off, don’t worry—you can still clean them in place.
- Dip a small cloth or an old toothbrush into the baking soda paste from step 1. Use it to scrub around the knobs and the control panel. The paste’s gentle abrasiveness is perfect for lifting off grease and grime without scratching delicate surfaces.
- If you removed the knobs, clean them separately by applying the paste, scrubbing gently, and then rinsing them under warm water. For knobs that can’t be removed, focus on scrubbing around the edges where grime tends to build up.
- Once you’ve scrubbed away the dirt, use a damp cloth to wipe down the knobs and control panel, removing any residue from the paste.
- For a streak-free finish, use a dry microfiber cloth to buff the knobs and panels until they shine.
Pro Tip: Use a toothpick or cotton swab dipped in the paste to reach tight spaces or crevices around the knobs. It’s a small effort that makes a big difference in the final result.
By taking a little extra time to clean the knobs, you’ll give your oven that polished, like-new look. Plus, it’s amazing how satisfying it feels to use clean, grease-free controls.
Deep cleaning your oven during or after the festive period not only restores its sparkle but also sets the stage for stress-free cooking and baking in the year ahead.

